Surface finishing is a crucial aspect of the finishing process for your parts. However, with so much to consider when looking into surface finishing such as the various technologies and methods to choose from, as well as the many surface finishes and flatness levels that can be achieved, and the right one to choose, it can leave many wondering just what is surface finishing?
In this blog we explore what surface finishing is, its importance and how to measure it effectively, so you can feel confident you’re choosing the right surface finishing standards for your parts.

What Is Surface Finishing?
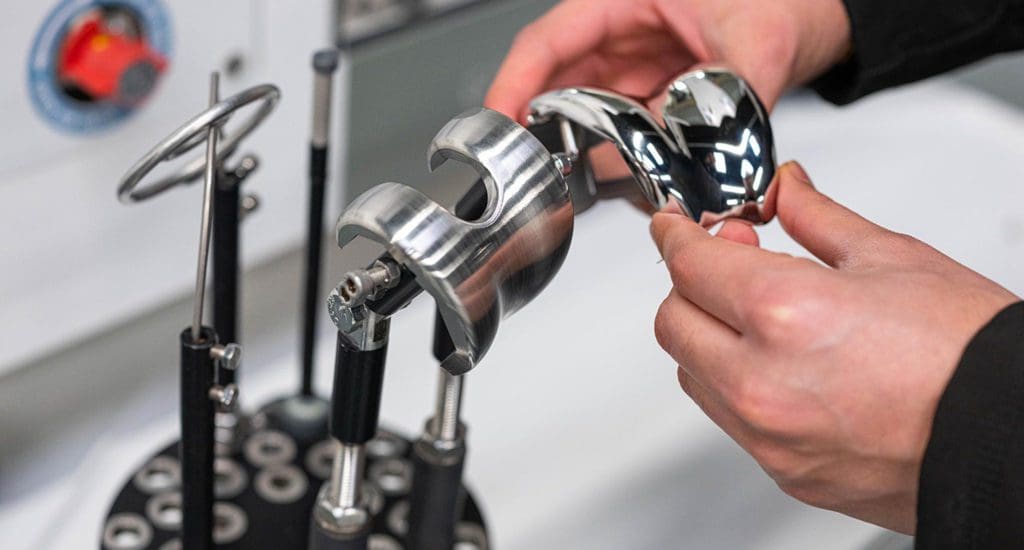
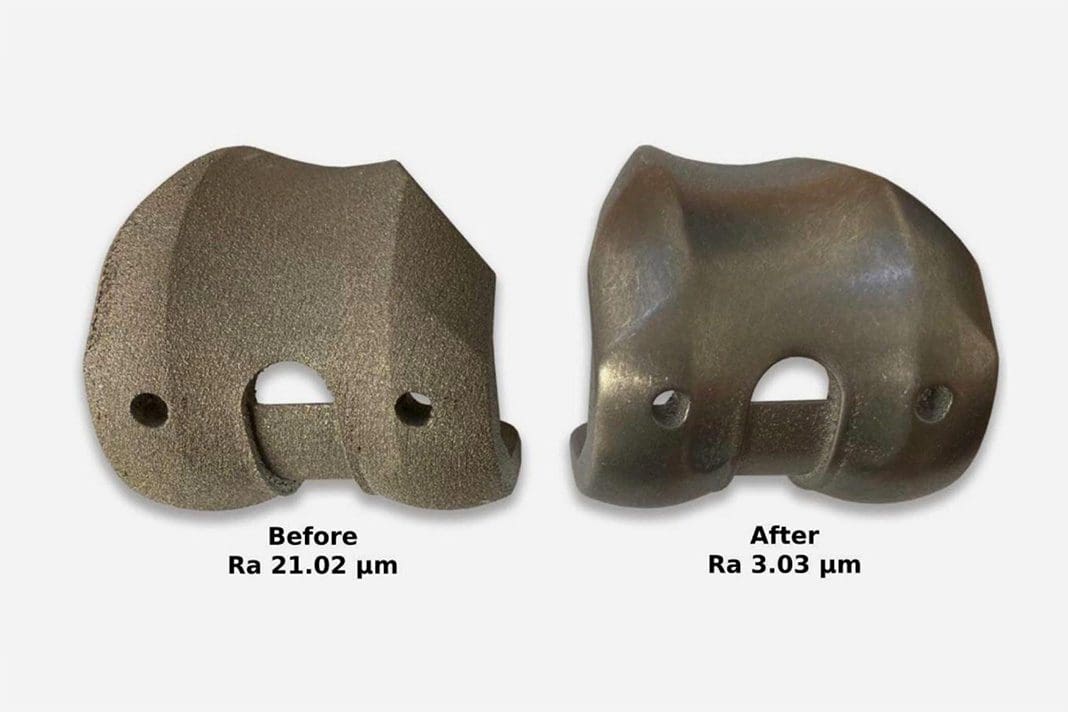
Surface finishing in simple terms is a process used to alter a metal’s surface by adding, removing or reshaping. This is done to achieve a certain goal, to which these goals vary depending on what the metal is being used for.
Why Surface Finishing is Important?
Understanding the importance of surface finishing and its purpose for various part’s can help answer the commonly asked question of what is surface finishing.
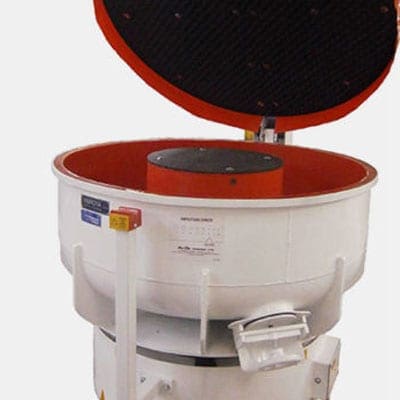
A component’s surface finish must be determined for a variety of reasons. The most basic is for aesthetics, but the surface finish can also control a part’s wear characteristics, a surface’s ability to retain lubrication, the ability of two hard faces to produce a good seal, and a variety of other important objectives, all of which are dependent on the surface finish generated. Discover our range of surface finishing machines and our mass finishing accessories.
Breaking the process down
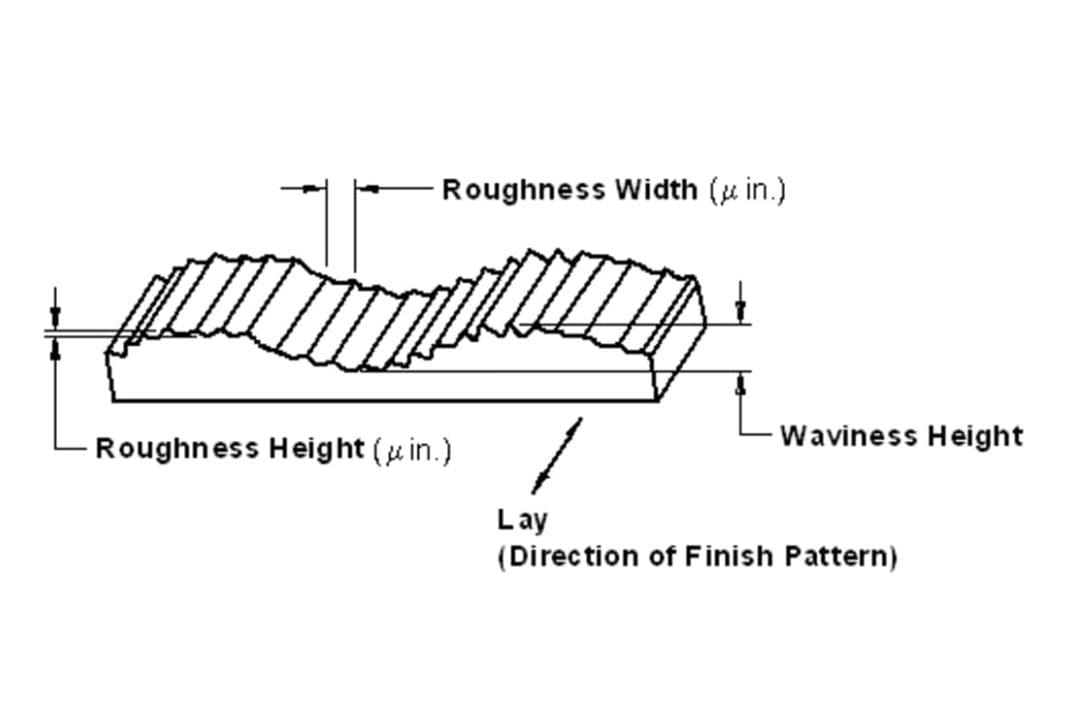
A component’s surface finish (also referred to as surface roughness) measures the metal part’s texture, including the roughness, waviness and lay.
Through the manufacturing process a pattern is created on the surface, this is called the lay. The waviness is the measurement of the periodic variation in the surface finish. Roughness refers to how smooth the surface of the part is.
When asking what is surface finishing it is important to acknowledge the wide range of finishing processes which are applied on the surface of a component in order to offer the product certain properties. No two processes are the same and the goals for why the surface finishing is taking place vary. Here are some more reasons why you may want to use surface finishing on a part:
- improve the aesthetic appearance;
- remove burrs;
- smooth the surface;
- offer resistance to corrosion, tarnish, wear or chemicals;
- improve the part’s durability and performance;
- strengthens the material;
- control the surface friction;
- improve the surface’s ability to retain lubrication.
The surface finishing process can remove material, reshape or alter the part’s geometry or add material.
Some of the most popular surface finishing processes include: grinding, polishing, chemical mechanical polishing, dry electropolishing, vibratory finishing, centrifugal finishing and drag finishing. To achieve the final result based on the surface finishing requirements, it’s important to find the right mix of finishing technology, media and chemical.
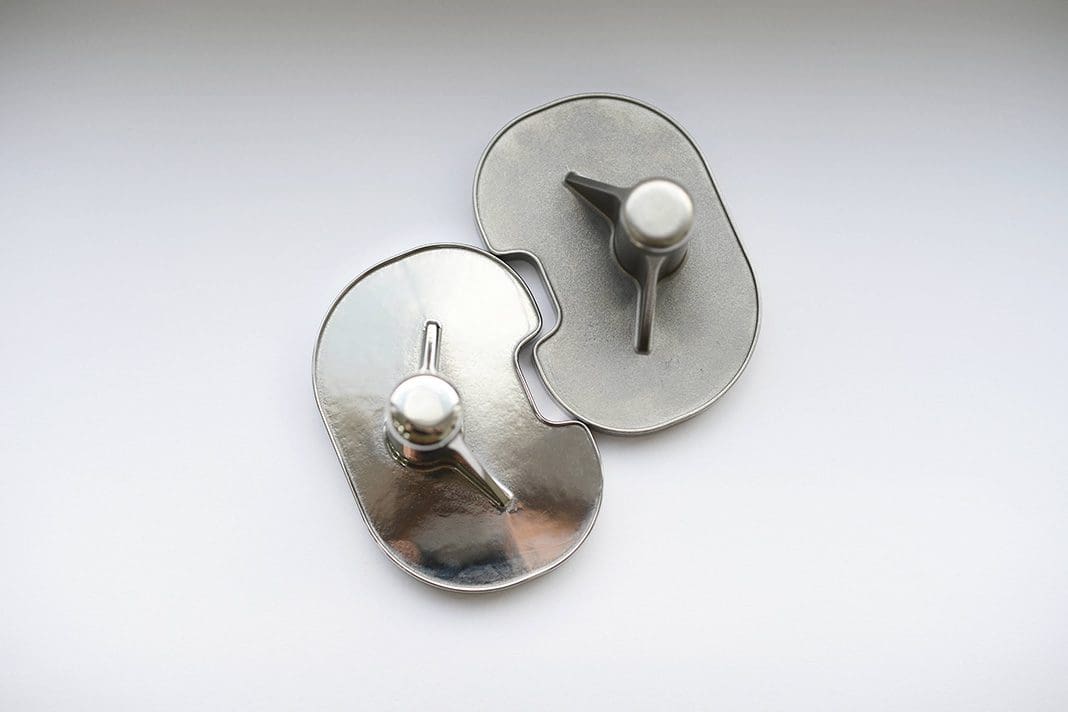

Surface Finishing Standards
The most commonly used surface finish parameters are Ra, Rz and Rmax. These can be found on a component’s technical drawing and they assess the surface roughness.
Ra is an often used metric and it represents the average roughness of a component’s surface. The term defines the roughness deviations of a measured surface from its mean line. A surface is rough when the deviations are high and the surface is smooth when the deviations are very low.
Rz is a more preferred metric due to the fact that Ra can sometimes offer imprecise measurements. The Rz measurement shows the average maximum height of a surface profile. To calculate this you need to measure the differences between largest peaks and valleys in different sections of the part. Then you make an average of all these values.
Rmax metric is used to find burrs or other inconsistencies on the part’s surface, which can’t be detected via the Ra metric. It measures the vertical distance of a surface’s peaks and valleys.
Take a look at our diagram that we have included for you to understand the process of achieving the different finishing standards and help explain what is surface finishing on a deeper level.

These metrics are usually measured in micrometers. When the measurement is high it means that the surface is rough. Consequently when it is lower, then the surface is smooth. Below you have a table explaining the roughness readings:
| Roughness in micrometers | Type of surface roughness |
| 25 | Rough surface – a result of forging process or saw cutting |
| 12.5 | Rough surface – a result from heavy cuts like turning, disc grinding milling and other. |
| 6.3 | A surface finish resulted from finishing processes such as milling, drilling or grinding. |
| 3.2 | This is the recommended measurement if a parts needs to be rough. |
| 1.6 | Good roughness / finish – can be achieved via vibratory finishing |
| 0.8 | A high grade machining surface finish – can be achieved via centrifugal finishing in a reduced time |
| 0.2 | A fines smooth finish – a result of buffing, centrifugal finishing or dry electropolishing processes |
| 0.05 to 0.025 | The most refined, smooth and polished finish – a result of a superfinishing process like the one that can be achieved in the centrifugal high energy machine |

Measuring the Surface Finish
Measuring the surface finish and understanding how and why this takes place massively aids in coming to terms with what surface finishing is.
In the manufacturing process it is desirable that the part’s surface roughness is in certain limits for quality purposes. Hence it is important to know how to measure the component’s roughness.
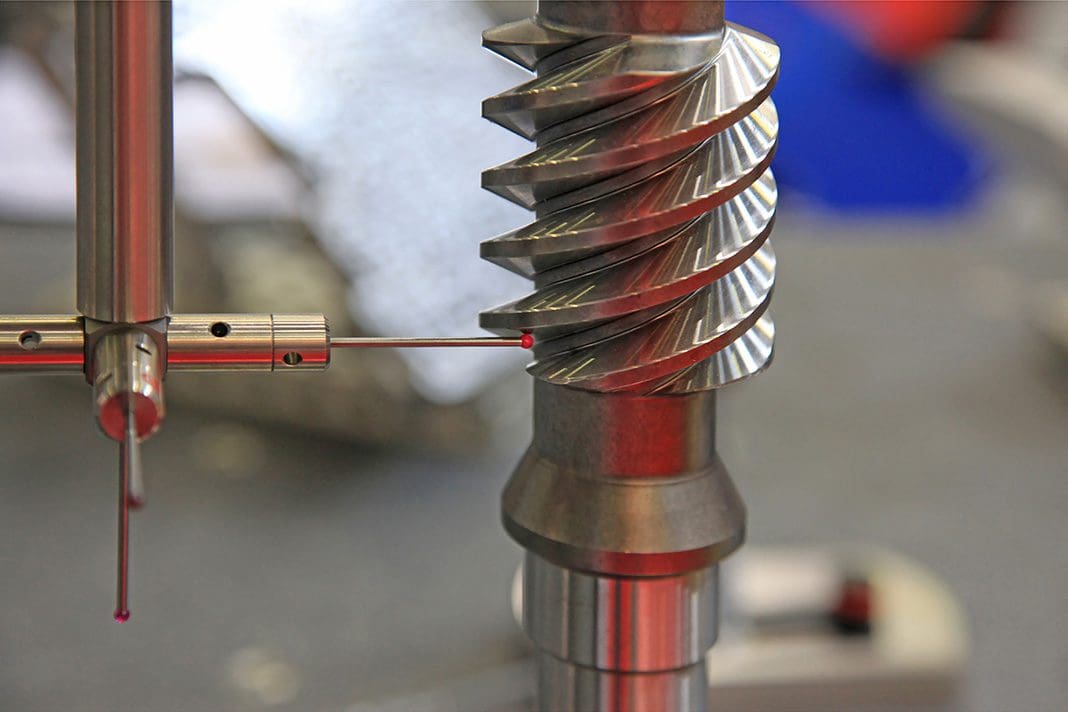
A surface finish can be measured in two ways; contact and non-contact. A ruby ball or a diamond stylus is typically used in contact systems to run across the surface of a part in a single short trace, taking into account the peaks and valleys on the surface. This is then converted into a surface finish figure using complex algorithms and calculations. This is the less expensive option, and simple handheld instruments can be had for a reasonable price.
With non-contact systems, a laser is reflected off a surface like an interferometer, creating a 3D render of the surface. This is a far more expensive option, but it considers the entire surface being measured rather than just a single trace. For optical surface finish measurement, this form of measuring system is very important. A contact system is suitable for the majority of engineering applications.
We hope this blog has given you a deeper understanding of what surface finishing is and its importance. If you would like to discover more or have any related queries, then get in touch with our friendly team and we’ll be happy to help.
FAQs
What is the meaning of surface finishing?
Surface finish is a term that refers to the process used to alter a metal’s surface by adding, removing or reshaping. The goal is to protect the metal and improve the aesthetic side. The result depends on the metal finishing method. Often, there are a few different ways to achieve the same or similar results.
What is the process of surface finishing?
Surface finishing is a vital manufacturing step that enhances the appearance, durability, and functionality of a product’s outer layer. Methods like polishing, plating, painting, and anodising are employed to achieve desired aesthetics and corrosion resistance, ensuring products meet quality and performance standards.
What are the types of surface finishing?
- Coatings. Electrocoating (E-Coating) Electroplating. Anodising. Powder Coating. Thermal Spray Coating
- Mechanical Abrasives. Abrasive Blasting. Grinding
- Non-Contact Surface Treatments. Laser Surface Preparation. Plasma Treatments
To learn more about the types of surface finish we offer, check out our machinery.


