






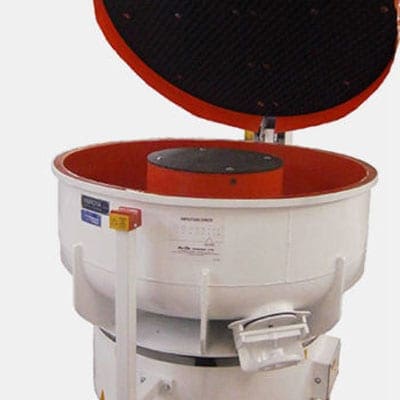


The Vibratory Finishing Tumbling Process is a widely used technique for improving the surface quality of components across various industries. Whether you’re looking to deburr, polish, burnish, or clean metal and plastic parts, a well-optimised vibratory finishing process ensures efficiency, consistency, and superior results.
Setting up an effective process requires careful consideration of several key factors, including machine amplitude, media selection, and compound choice. This guide continues from our previous discussion and provides essential steps to fine-tune your vibratory finishing system. By following these steps, you can achieve a repeatable and high-quality finish for your components.

Step 4: Set Up the Finishing Machine Amplitude
Machine amplitude in a vibratory finishing tumbling process plays a crucial role in determining the final finish of the component. It can range from 1mm to 8mm, with the standard operating range typically falling between 3mm and 6mm. The required amplitude can be set by adjusting the motor weights.
For delicate parts, a lower amplitude is recommended to prevent potential damage. Conversely, a higher amplitude is ideal for more aggressive applications such as heavy cutting, rolling burrs, or peening edges. If the goal is to achieve a polished finish or deburr parts with slots and holes, a smaller amplitude coupled with a faster speed is preferable.

Step 5: Identifying the Right Media for the Vibratory Finishing Tumbling Process
The success of the vibratory finishing tumbling process is highly dependent on selecting the correct media. Various factors need to be considered when choosing media, including type, shape, size, and hardness.
Media Type
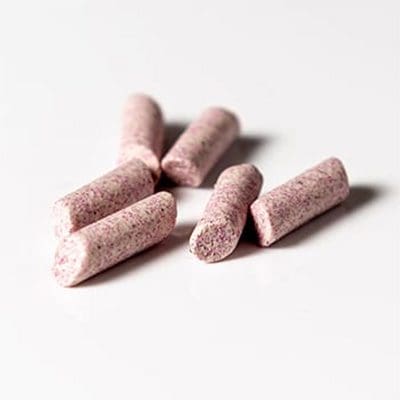
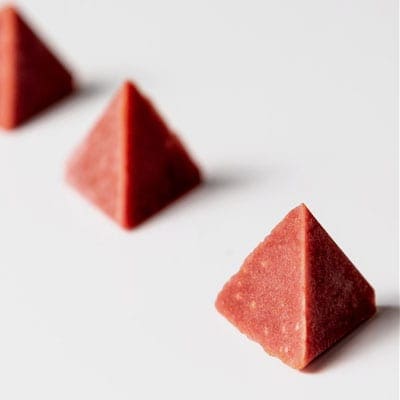
There is a wide range of media types available, including Ceramic, Plastic, Agro, Pre-Treated, Stainless Steel andWood Pegs.
- Ceramic Media: ideal for removing burrs, edge radiusing, and burnishing. It is particularly effective for quickly eliminating polishing lines on harder materials.
- Plastic Media: lightweight and made with soft bonding agents, this media is well-suited for achieving smooth, bright, or matte finishes on softer materials without rolling burrs onto the part.
- Agro Media: useful for surface brightening, drying and final finish refinement.
- Pre-Treated Media: recommended for achieving a high-lustre or mirror finish.
- Stainless Steel Media: used for burnishing, cleaning, and light deburring applications.
Media Shape
The shape of the media should be selected based on the component’s geometry to ensure consistency and prevent media lodgement.
- Flat-sided media (triangles, tri-stars, wedges, cones): provides longer surface contact time for effective deburring and edge radiusing.
- Round-shaped media (balls, cylinders, cones): generates single-point contact, focusing energy on a small area for more localised finishing.
- Tri-Star and wedge media: suitable for components with corners, holes, and slots to minimise media lodgement.
- Elliptical or cylindrical media: useful for improving the finish of hard-to-reach areas.
Media Size
The size of the media affects the component’s final finish:
- Larger media: generates more energy, resulting in faster finishing with higher wear rates. Ideal for processing larger parts.
- Smaller media: holds more water and compound, reducing part-on-part damage. Provides gentler impact, leading to better finishes and less media wear, though with longer processing times.
To ensure efficient separation at the end of the finishing process, media should be of a different size than the part. Magnetic separation can be considered for ferrous components.
Media Hardness
It is essential to match media hardness with the component material to prevent damage. For example, ceramic media is harder than plastic and may be too aggressive for soft materials.

Step 6: Identifying the Right Compound for the Finishing Process
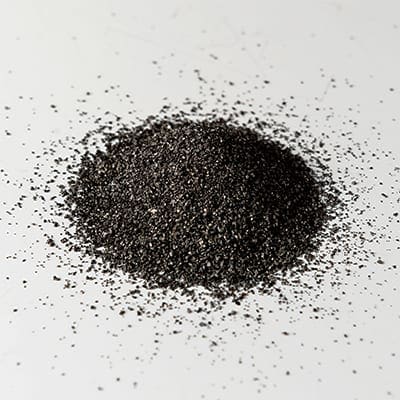
Compounds play a critical role in the vibratory finishing tumbling process. They help suspend dirt, oils, and media residues, preventing contamination while also stabilising the process. Other benefits include corrosion inhibition, brightening, and scale removal post-heat treatment. Additionally, compounds act as lubricants, extending media life.
Key considerations when choosing a compound:
- Process requirement: different compounds cater to specific needs, such as corrosion inhibition, separation of flat parts, or accelerating burr removal.
- Finish requirement: whether the goal is descaling, brightening, polishing, or burnishing, there are specialised compounds to achieve the desired outcome.
- Component material: compounds are formulated to work effectively with either ferrous or non-ferrous materials.
For detailed guidance, refer to our Consumables Brochure.

Step 7: Run the Vibratory Finishing Trial
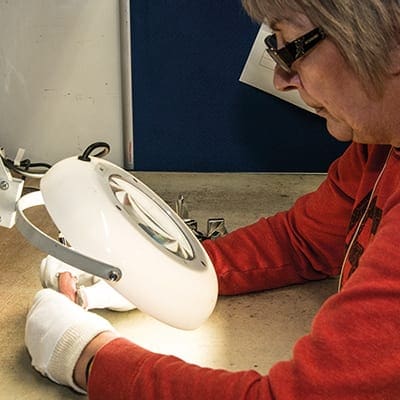
The final step is conducting a finishing trial to optimise the process and establish repeatability.
- Use multiple part samples that are identical to the actual components to ensure consistency.
- Record each stage of the trial in a report for future reference.
- If necessary, perform additional trials to fine-tune the process.
- Once the optimal process is determined, create a data card containing process parameters, inspection criteria, and relevant notes to maintain consistency in future runs.